How to remove yourself as an admin on facebook
Being an admin on a Facebook page or group comes with various responsibilities. However, there may come a time when you no longer wish to hold that position. Whether you want to take a step back from managing a page or you’ve simply lost interest, removing yourself as an admin on Facebook is a straightforward process. In this article, we will guide you through the steps to remove yourself as an admin on Facebook, ensuring a smooth transition.
[dynamic_apk_button]
1: Understanding Facebook Admin Roles
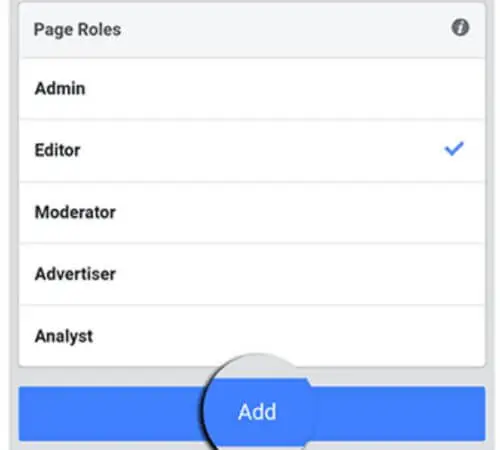
Before we dive into the steps, let’s quickly review the different admin roles on Facebook and the privileges they possess. There are five admin roles: Admin, Moderator, Editor, Advertiser, and Analyst. Each role has a different level of access and authority within a Facebook page or group.
2: Steps to Remove Yourself as an Admin on Facebook
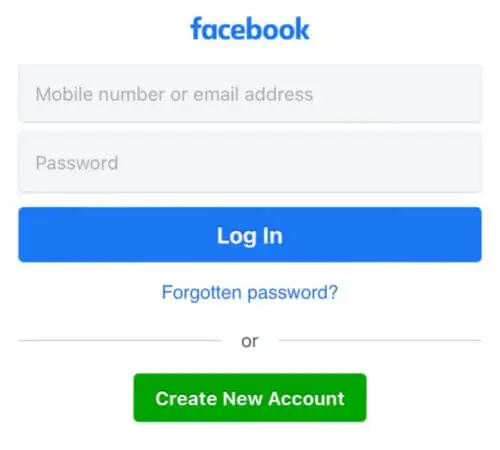
Log in to Facebook:
Visit the Facebook website and log in using your credentials. Make sure you have the necessary admin access to the page or group you want to remove yourself from.
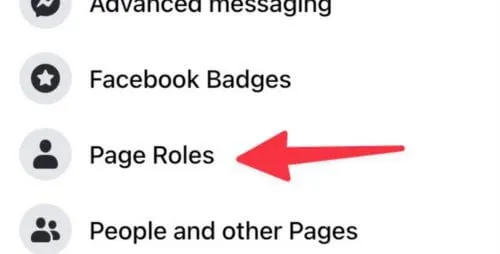
Navigate to the Page or Group Settings:
Once you’re logged in, go to the Facebook page or group that you’re currently an admin of. Look for the “Settings” tab, usually located near the top-right corner of the page or group.
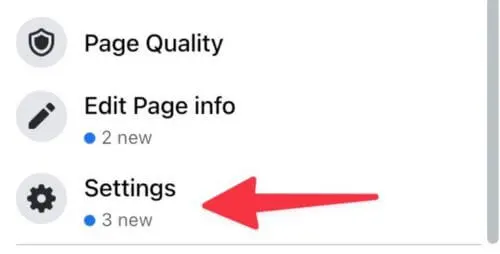
Access the Admin Settings:
Within the Settings section, locate the “Page Roles” or “Group Settings” option, depending on whether you’re an admin of a page or a group. Click on it to access the admin settings.
Identify Your Admin Status:
In the Page Roles or Group Settings section, you’ll find a list of all the admins associated with the page or group. Identify your name within the list to determine your current admin status.
Change Your Admin Status:
To remove yourself as an admin, locate your name in the list and click on the respective edit or drop-down menu option beside it. From the available options, select “Remove as Admin” or a similar variation.
Confirm the Removal:
A confirmation prompt will appear to verify your action. Read the prompt carefully, as removing yourself as an admin means relinquishing all administrative privileges. If you’re certain about your decision, click on “Confirm” to proceed.
Re-Authentication (if required):
Depending on your account settings, you may need to re-enter your password or complete an additional authentication step to confirm the removal.
3: After Removing Yourself as an Admin
Communicate with Other Admins:
If there are other admins on the page or group, it’s essential to inform them about your decision. Share your reasons for stepping down and ensure they are prepared to handle any additional responsibilities that were previously assigned to you.
Maintain a Backup:
Before removing yourself as an admin, consider creating a backup of any important data related to the page or group. This includes posts, messages, and any other valuable content. You can download this data using the “Download Your Information” feature available in the Facebook settings.
Stay Engaged as a Member:
If you still wish to remain connected with the community, switch to a member role instead of completely leaving the page or group. This way, you can continue participating in discussions and engaging with the content without the administrative responsibilities.
Conclusion:
Removing yourself as an admin on Facebook is a straightforward process that allows you to step back from the administrative duties associated with managing a page or group. By following the step-by-step guide provided in this article, you can smoothly transition from an admin to a member role, giving yourself the freedom to explore other interests or simply enjoy the content as a regular user. Remember to communicate with other admins and consider creating a backup of valuable data before making the change.